RV Chic
Grandma Kennedy's Chairs
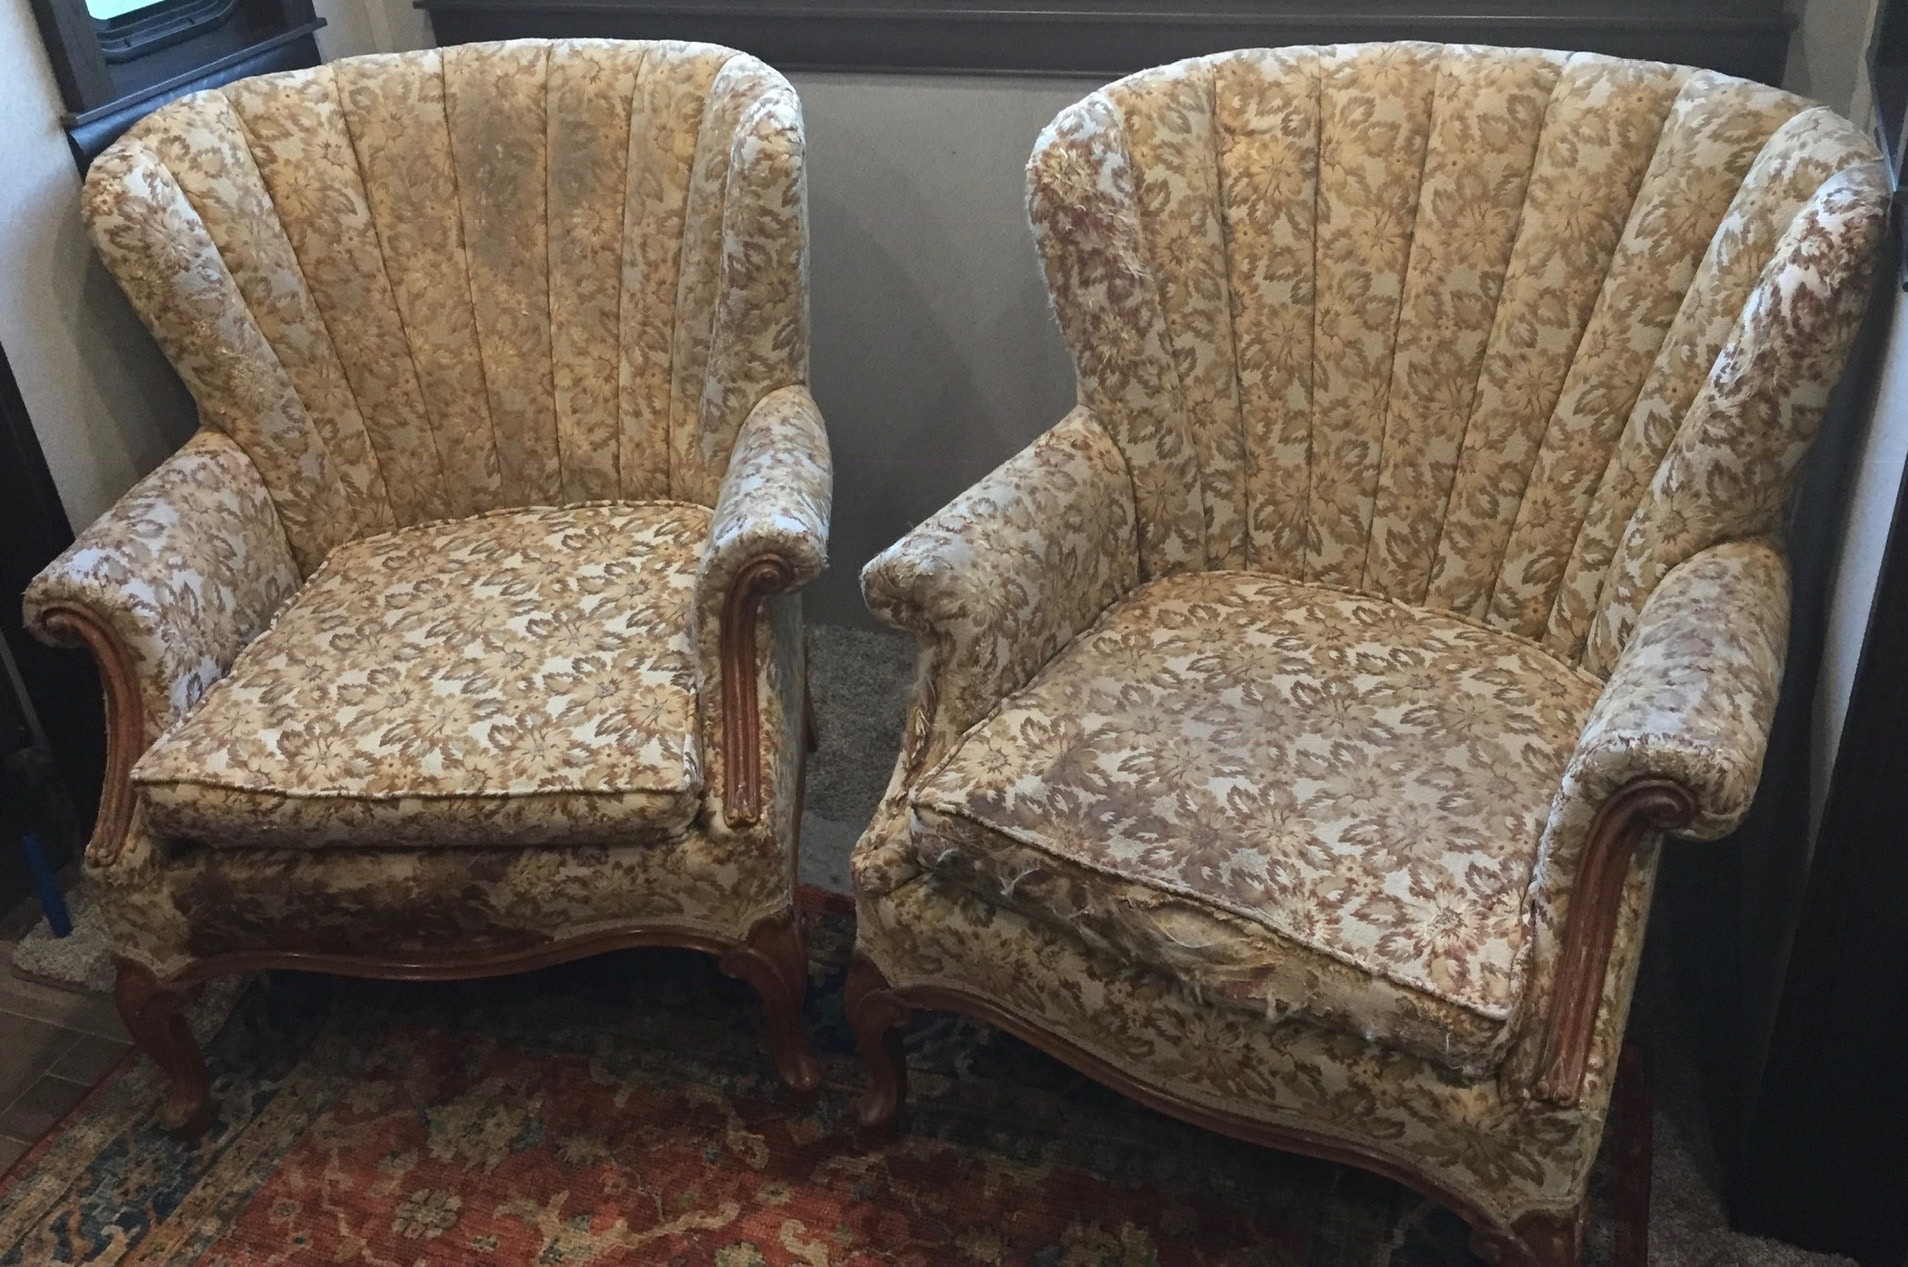
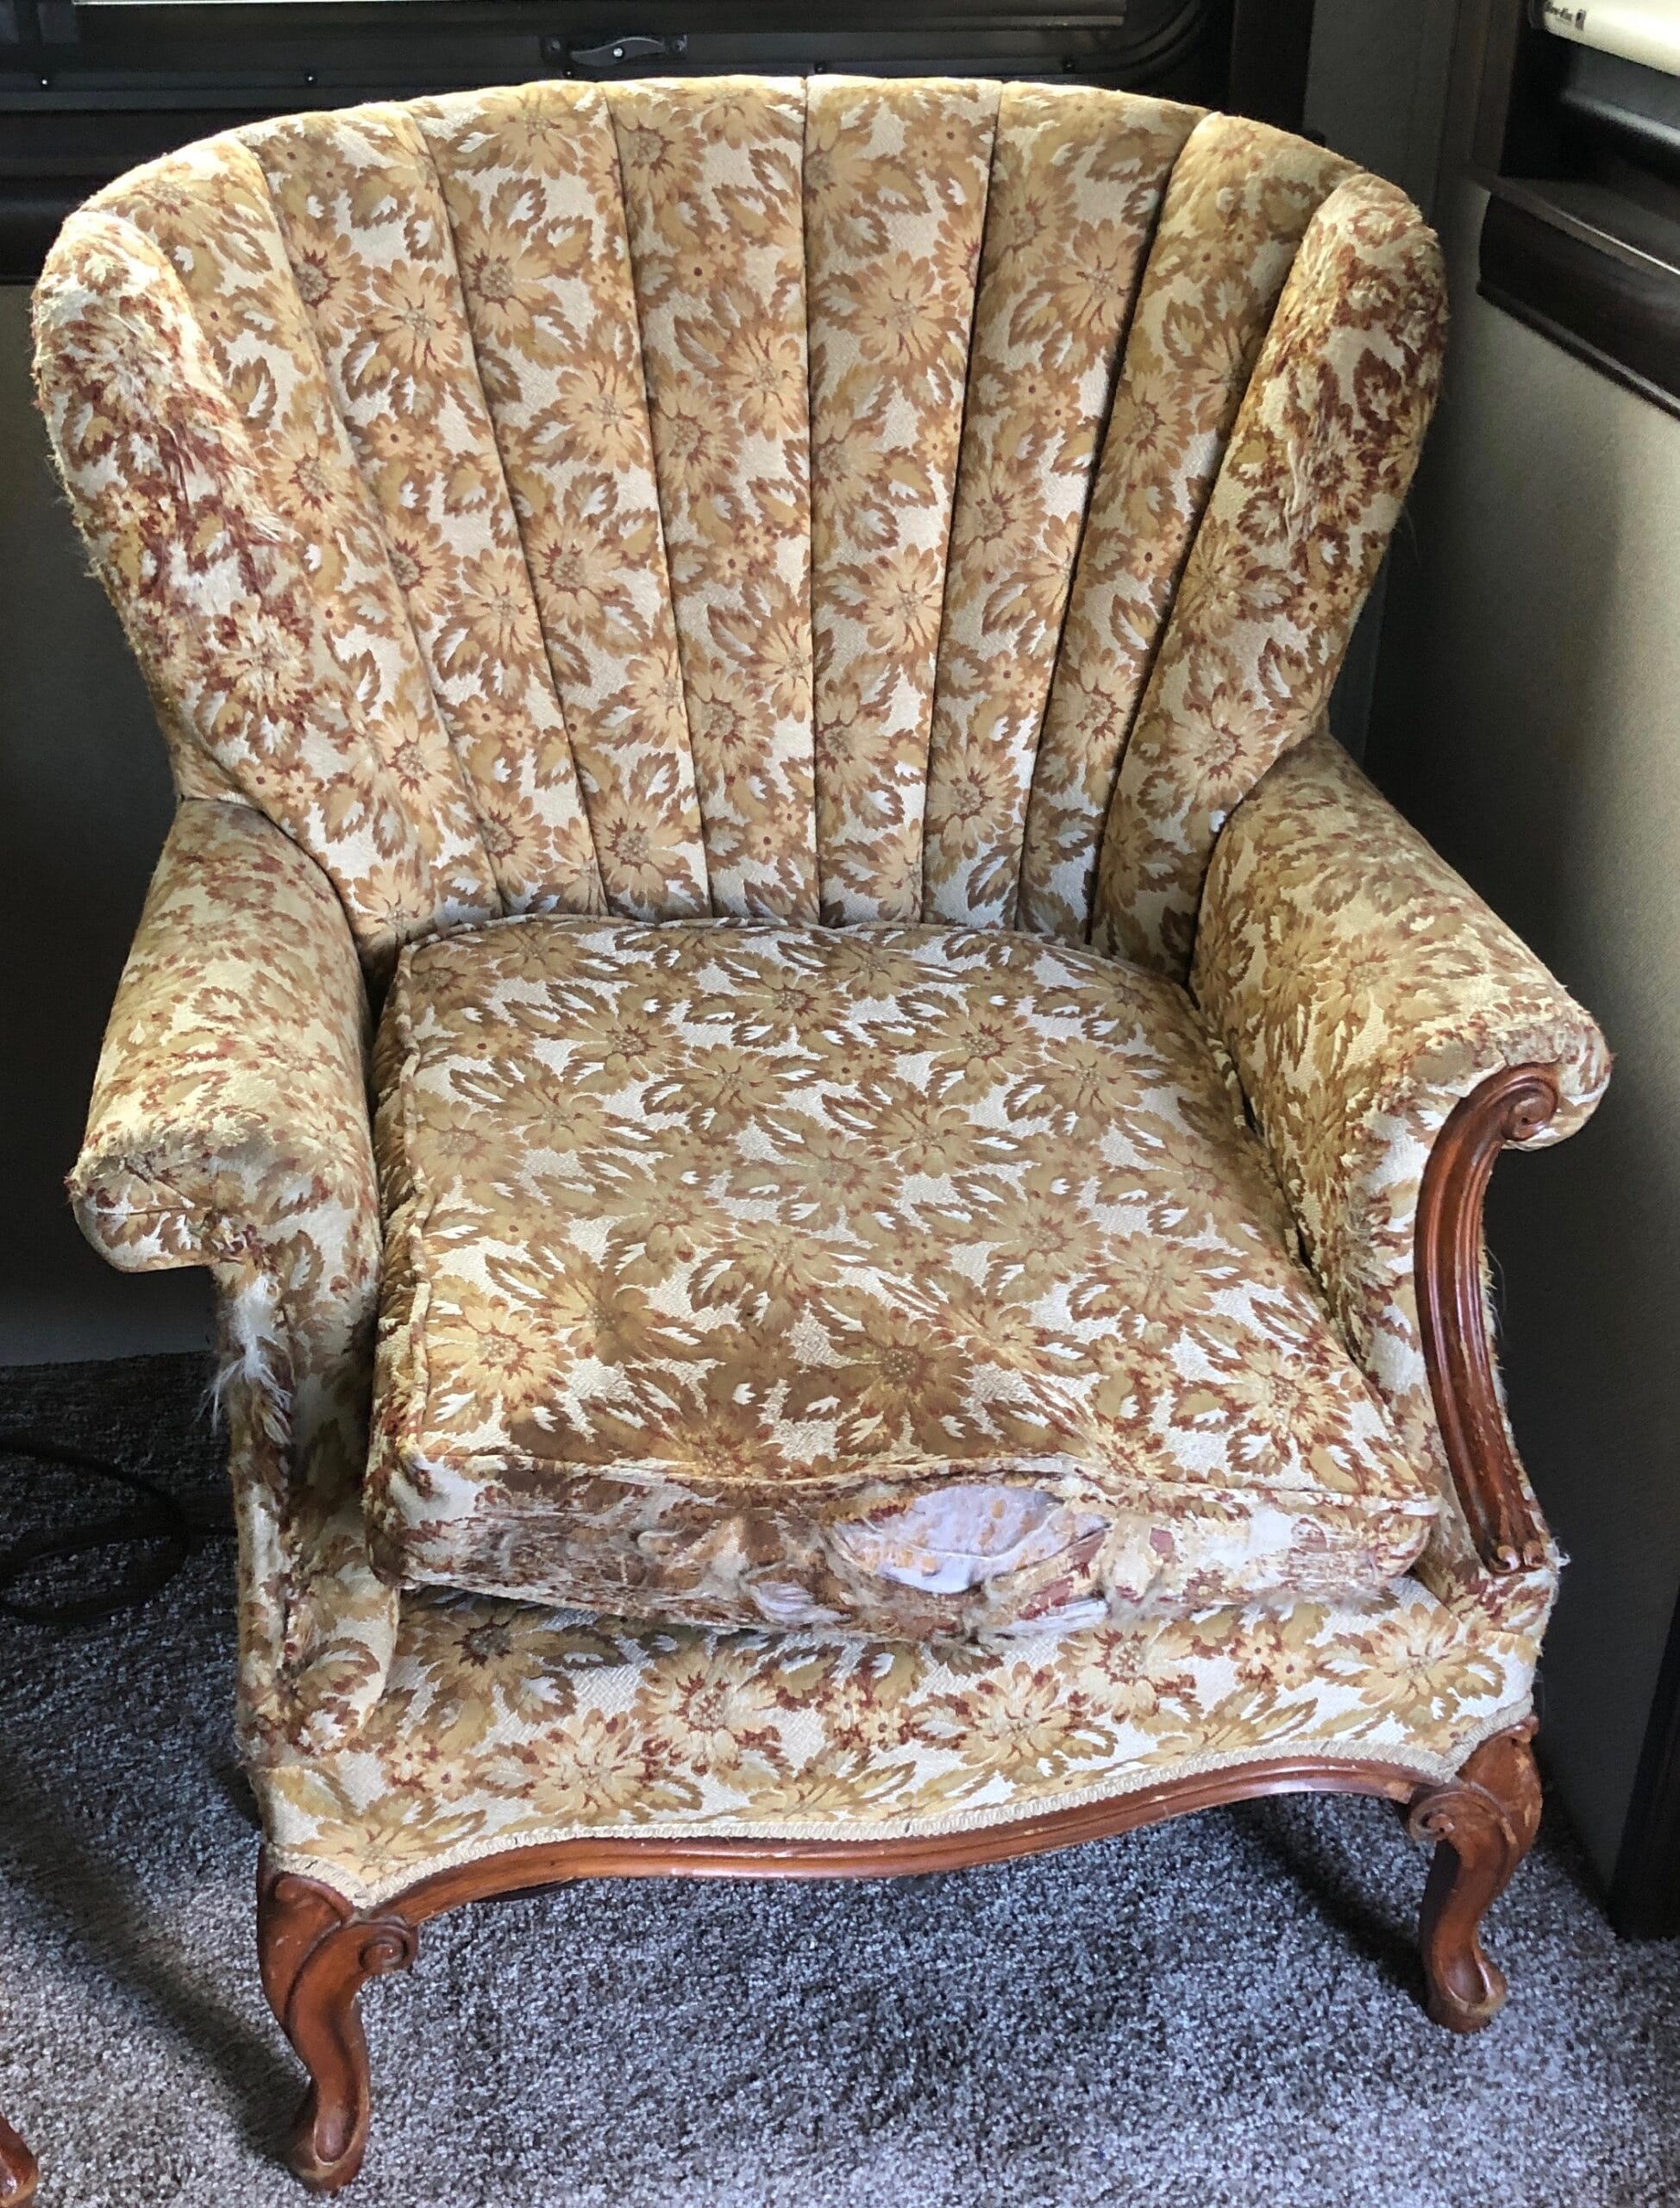
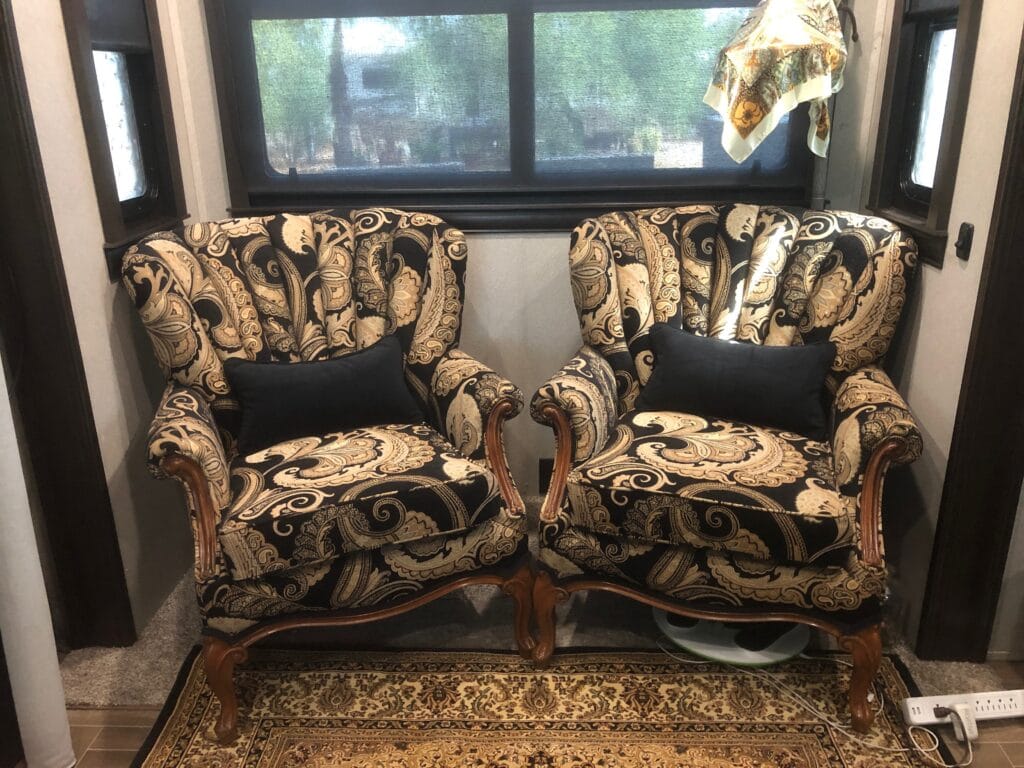
I’ve been sitting in these chairs for 47 yrs. They were in my Mom-in-Law home & I kept saying: “I want these chairs, I’m calling Dibs!” They were antiques when Mom got them* & she had them upholstered. We’ve had these chairs for 10 yrs & I drove PK crazy looking for the perfect fabric. Meeting Annette from By the Yard in Tempe, AZ was my eureka moment. She was able to find this lovely fabric for us.
*Mom says she got them from Aunt Edith / Nancy says she found them in an Antique Store in El Centro, CA. Circle of life continues; my Granddaughter Jada has called dibs on them too.
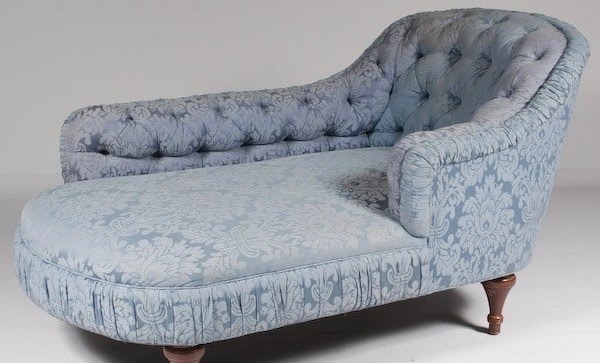
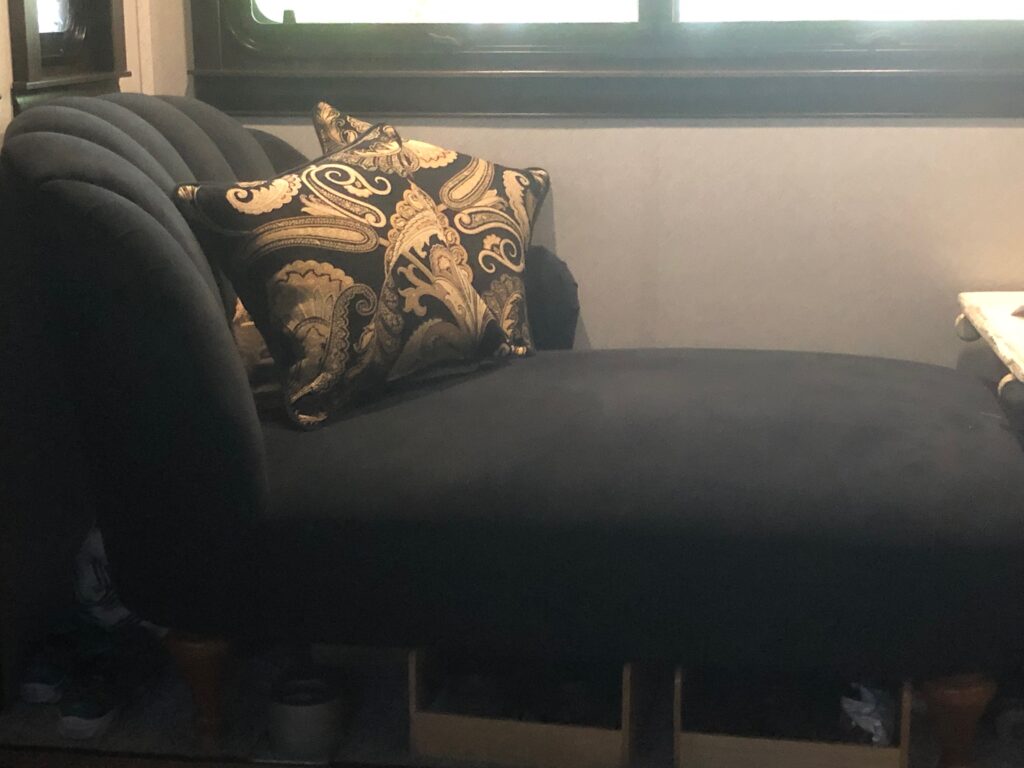
Now the fainting couch needs to be Reupholstered too
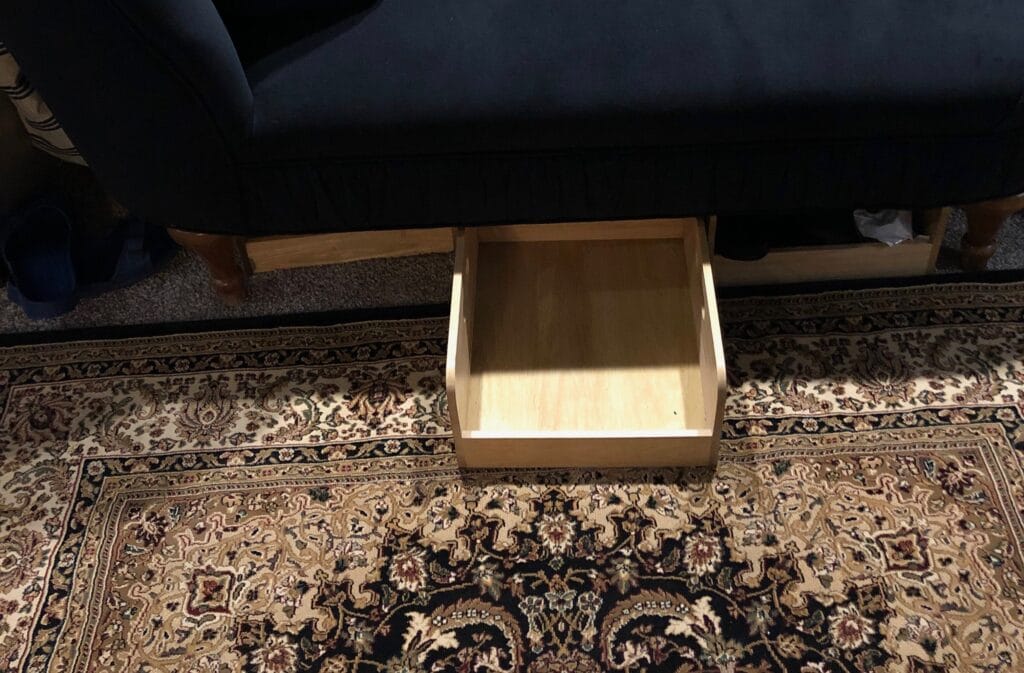
We purchased this Chaise Lounge in ’97, it’s the perfect chair for kicking back to read or watch TV, but it doesn’t work for extra seating. So one arm was removed to provide additional seating. Updating the style & fabric to tie the three chairs together. The boxes underneath are used to store our shoes.
Next the Bedroom...
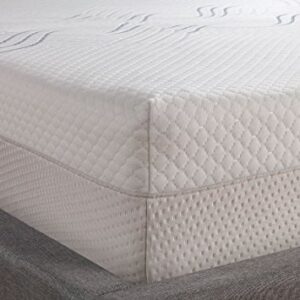 You can get into a lot of trouble with watching YouTube video and the one trimming a memory foam mattress was PKs downfall. trimming the mattress to fit our new RV perfect solution to buying new & add the Hypervent Aire-Flow helps prevent moisture build-up underneath the mattress.
I’ve got a Princess & the Pea focus on bedding & since we’re living in Arizona (dust) & Mojo (cat hair). I’ve over protected our bedding. The Mattress is a Cal-King 10″ memory foam, with cloth cover, we’ve added a bug/dust/moisture zipped cover & then a fitted sheet. The mattress wasn’t very comfortable, so I added a feather mattress (that PK hated), so we swapped it out for a 3″ foam pad. This pad was surrounded with a two covers (1 top & 1 below), this was topped with another fitted sheet, top sheet, blankets, duvet & a million pillows & is harder than heck for me to climb into.
So we removed all the blankets, pillows, foam topper & started to take the mattress a part. Now you need to visualize a SMALL bedroom. it’s got maybe a foot or less on both sides of the mattress & 8 inches at the foot the of the bed.
So the protective cover needs to come off, the cloth covers need to be removed to get to the foam, So PK spent a lot of time flipping & turning the mattress just to get to the foam. We then measured the wooden platform that the mattress rests on & trimmed the mattress to fit using a measuring tape, marker & electric knife (this was the easy part). Twisting and turning the mattress we then reinstalled the covers.
The Hypervent pad was placed on the wooden platform & the trimmed mattress was placed on top. We should have used tacks to secure it to the platform, because the Hypervent moves as we shift the mattress. Maybe next time.
Next we trimmed the 3″ foam pad. Easy-peasy lemon squeezy and we started putting the bed together. All in all we saved $500 on a new Queen size mattress. And PK & I were so proud of ourselves. We could easily now walk around the bed, pillows & duvet looked amazing.
BUT the next day PK’s back was killing him & we went to the emergency room, where he as prescribed meds & advised to take time off from work.
